
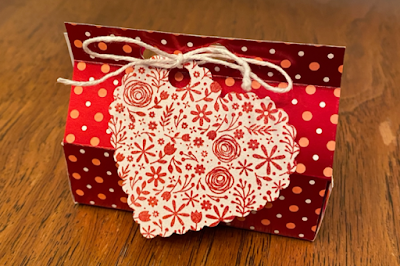
Valentine's Day Box
Hi, friends! This week's card tutorial is actually not a card but rather a treat box. I'm going to a Valentine's Day party and wanted to make a Valentine for the kiddos. I first learned how to make the box at a workshop my up-line hosted. We stamped a design onto our paper first and then made the box. I love these because they're very easy to make and versatile! For Thanksgiving, I made the boxes to use as place settings at our table. Inside, I put 2 Kit-Kats. They fit perfectly! For the Valentine's Day Box I'm going to put a few Hershey Kisses and a little toy found in the Target Dollar Spot.
Supplies Needed: (All Stampin' Up! products are linked at the bottom of the page.)


Supplies Needed: (All Stampin' Up! products are linked at the bottom of the page.)
- Paper (6.5 in. by 5 in.)
- Tape Runner
- Hole Punch
- Scoring tool
- Paper Cutter
- Ribbon

Box Instructions

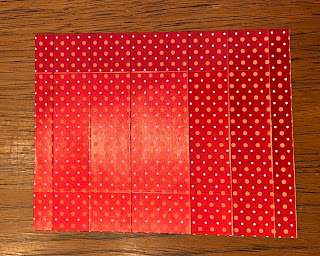
1. Cut a piece of From My Heart Specialty Designer Series Paper to 6.5" by 5".
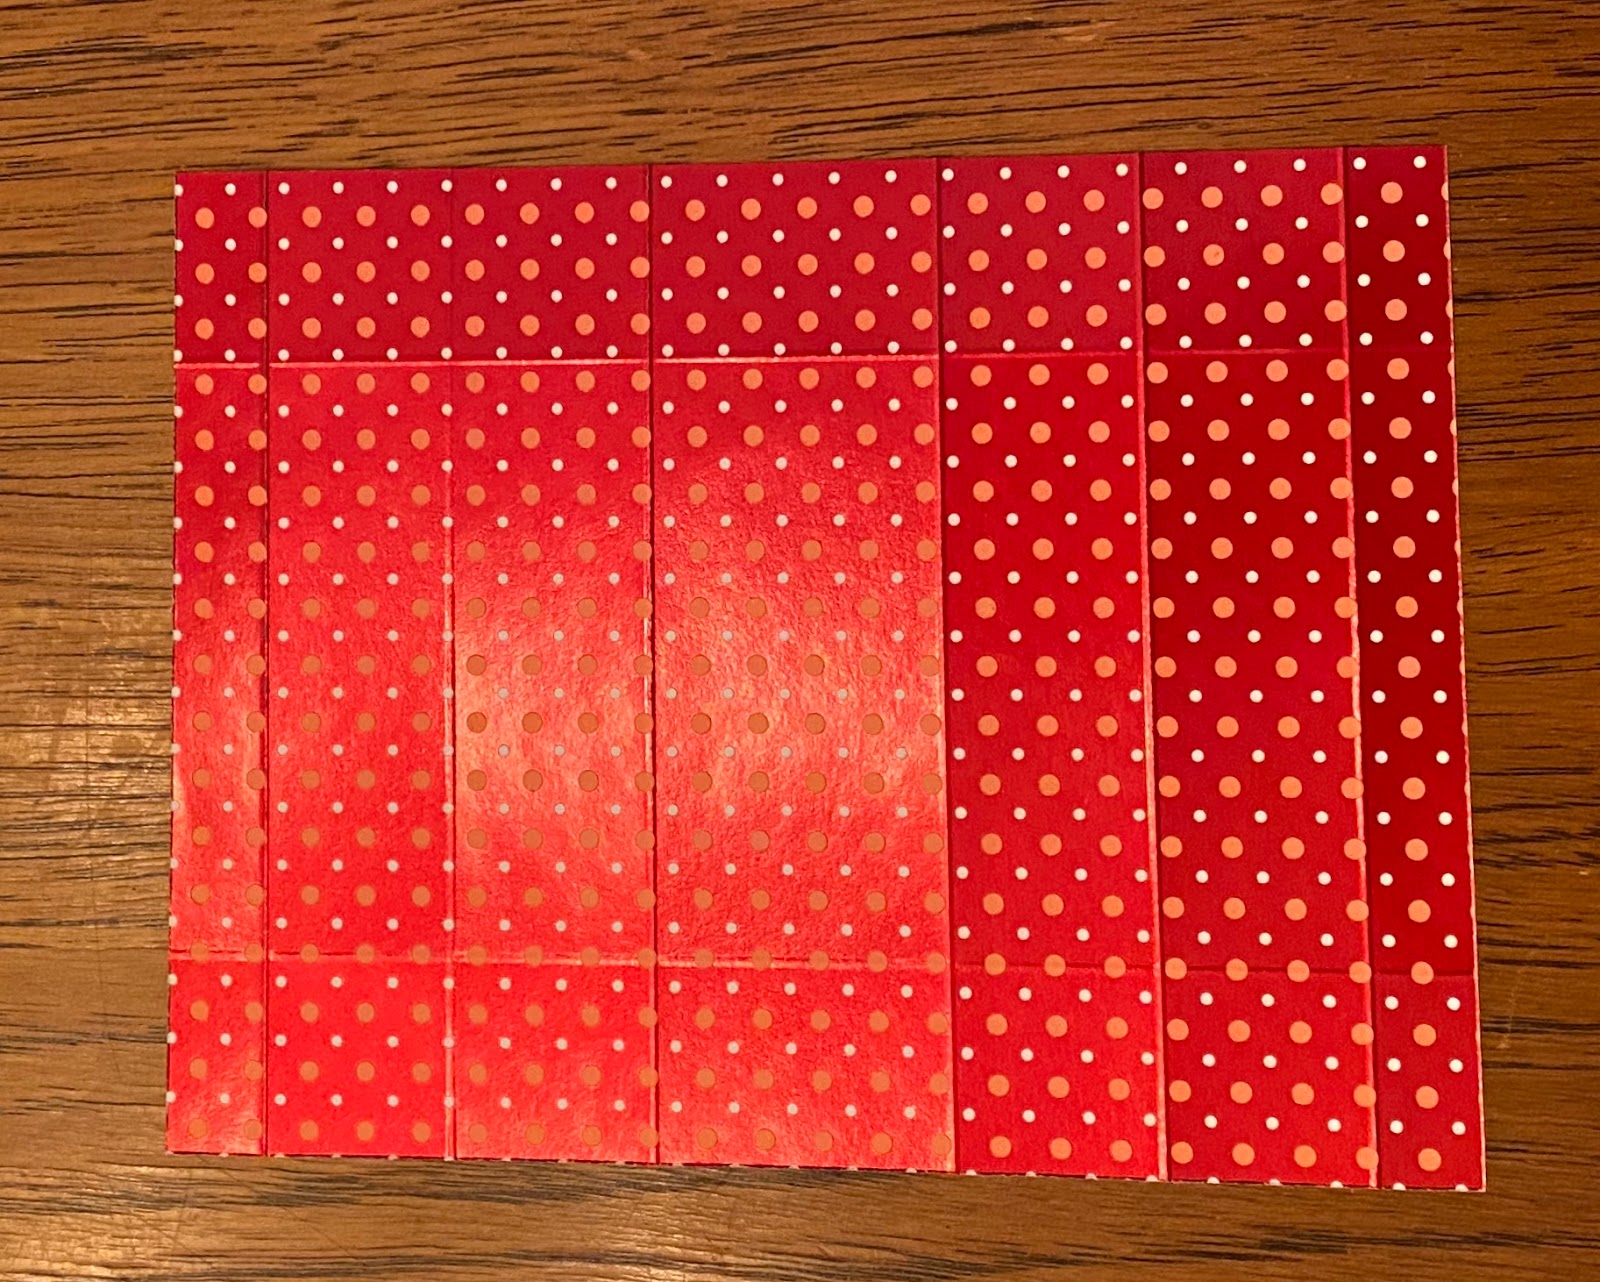
2. Using a scoring tool score on the short side at 1" and 4". Score on the long side at 0.5", 1.5", 2.5", 4", 5", and 6".


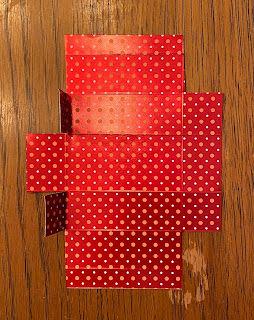
3. Cut on the 1" score line down to the 1.5" score line on each corner. Then, cut the 2.5", 4" and 5" score lines to the 1" score line on each side.


4. Fold the 2.5" and 4" score line up. Then fold the 1.5" and 5" score lines to the center.


5. Fold the 0.5" and 6" score line up to form a point. It should look like a box now.


6. Unfold (LOL after all of that work) the box. Use a snail adhesive on the four tabs folded in on the picture above on the left. Bring the box back into shape and close the sides. The larger tab will be on the outside.


7. Hole punch two holes in the top portion of the box.
Tag Instructions

1. On a piece of Whisper White paper, I used a background stamp that was in the January Paper Pumpkin with Real Red and Blushing Bride ink. You can also use a piece of designer series paper with a solid back.

2. Use the scalloped heart from the Heart Punch Pack.

3. Next use Real Red ink to stamp "Happy Valentine's Day". This particular stamp is also from the January Paper Pumpkin but I linked Meant To Be cling stamp set at the bottom. It has a similar sentiment.

4. Hole punch in the top right corner.

5. I tied the tag to the box using white ribbon also from the January Paper Pumpkin. Any coordinating ribbon can be used.
If you have any questions about this project or would like to attend or host a workshop please email me! My email is emcrafts96@gmail.com. I look forward to hearing from you!


Comments
Post a Comment